Installing CiraSync On Premise is a straightforward process that allows organizations to synchronize contacts efficiently across their team’s devices. This guide walks you through each step of the download and installation process.
1. Visit the Support Page: Navigate to https://itrezzo.com/support-home/.
2. Download the Installer: Click on “Download itrezzo UCM Server”.

3. Select the Installer File: Locate and click on the “cirasynconpremise.exe” file to start the download.

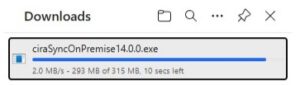
4. Access the Download: Once the download is complete, it will appear in your browser’s downloads area (typically in the top-right corner). Click the file to open it.
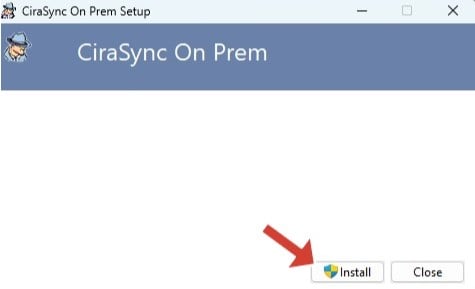
5. Run the Setup: A setup dialog box for CiraSync On-Premise will appear. Click “Install” to begin.
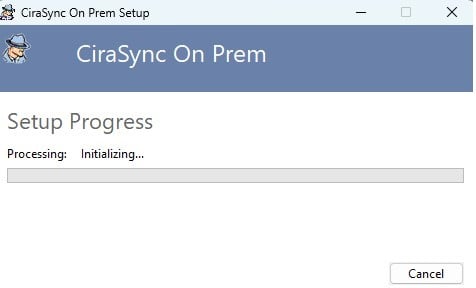
6. Initialize the Setup: Wait for the setup process to initialize.
7. Proceed with Installation: Click “Next” to move through the installation steps.

8. Accept the License Agreement: Carefully read the terms of the license agreement. Select “I Accept”, then click “Next”.

9. Choose Installation Folder:
- To install in the default folder, click “Next”.
- If you want to select a different location, click “Change”, choose your preferred folder, and then click “Next”.

10. Configure Setup: Select how you want the features to be installed, then click “Next”.

11. Install CiraSync On-Premise: Wait for the installation to complete.

12. Finish the Installation: Once the installation is complete, click “Finish” to close the setup wizard.