A Calendar Distribution List (CDL) in CiraSync On Premise allows you to synchronize and distribute calendar events from a designated data source to specified recipients. Follow the steps below to create and configure a Calendar Distribution List in CiraSync On Premise.
Instructions
1. Expand Unified Contact Management in the left navigation panel.

2. Right-click Calendar Distribution List and select Create Calendar from the menu.

3. Choose the data source for the Calendar Distribution List. For this example, select From a Public Folder as the source.
- Note: Selecting this option will use a Public Folder from your Exchange Server as the source for the Calendar Distribution List.

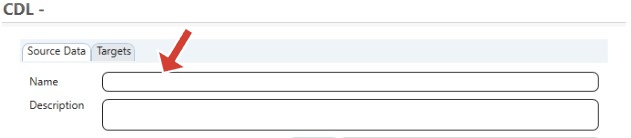
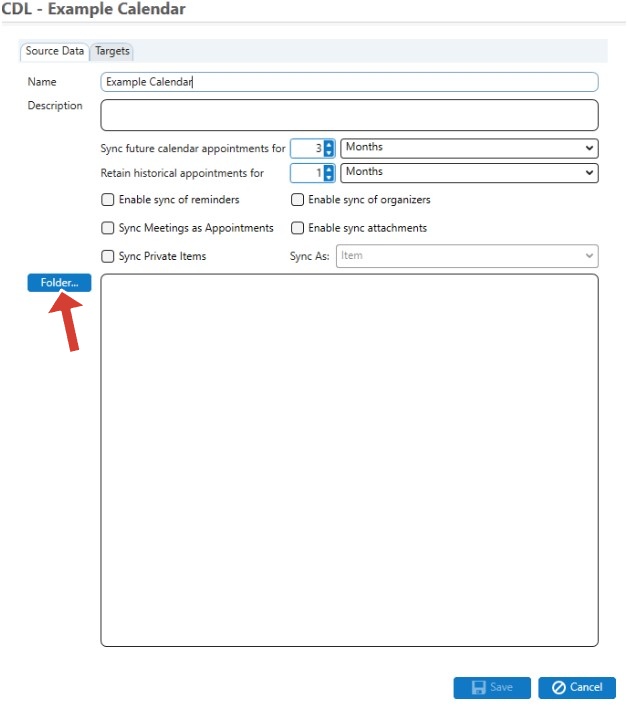
4. Enter a name for the Calendar Distribution List in the Name field.
5. Click the Folder button in the Folder field to open the Folder Selector window.
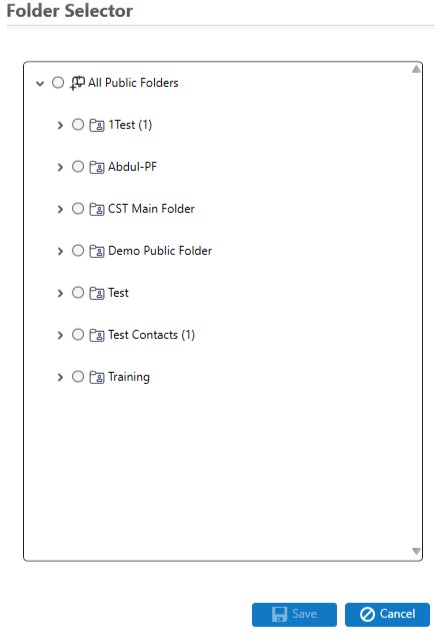
6. Select the source Public Folder that will be used for the Calendar Distribution List and click Save. This will return you to the CDL window.
-
- Note: If you selected From a Private Folder in Step 3, CiraSync On Premise will prompt you to specify the user mailbox that will serve as the source. If you selected From a Remote Exchange Server, you will need to enter the login credentials and URL for the remote server.
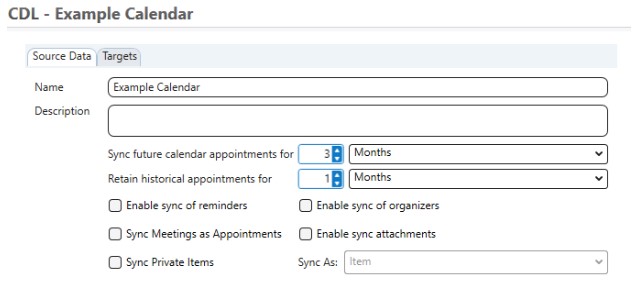
7. Customize the calendar sync filters using the available drop-down menus and the Sync future calendar appointments for and Retain historical appointments for fields. Adjust the values using the up and down arrows as needed.
8. Click the Targets tab. This will display additional configuration options for the Calendar Distribution List.
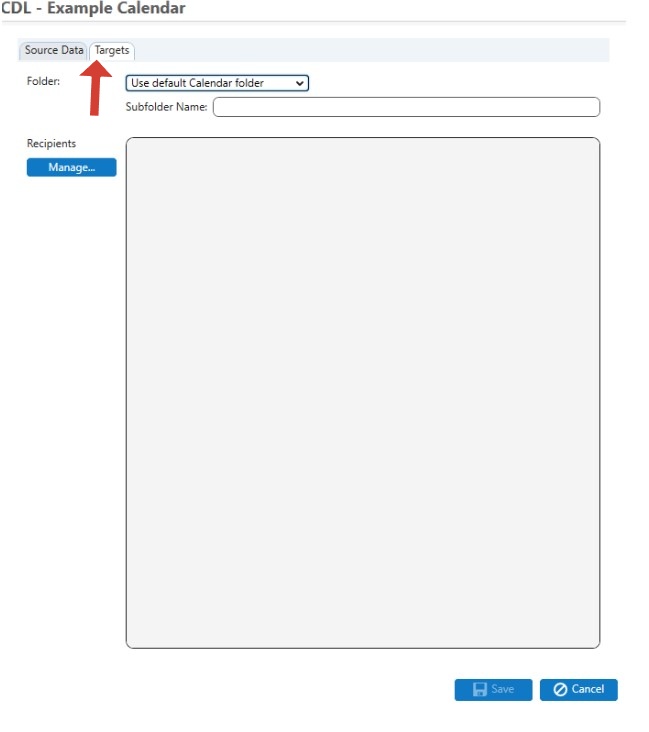
9. In the Folder field, specify where Itrezzo will create the Calendar Distribution List.
- Note: It is recommended to create the Calendar Distribution List in a calendar subfolder for better organization and easier tracking of calendar events.
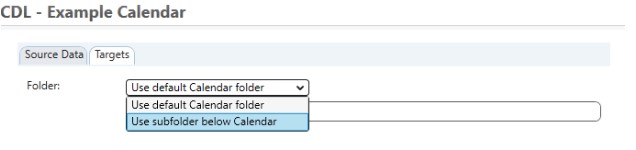
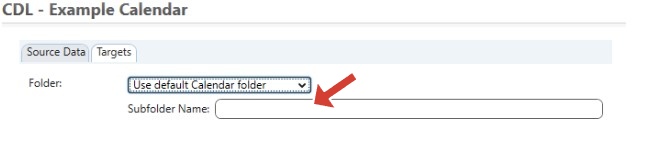
10. If creating the Calendar Distribution List in a subfolder, enter a name for the subfolder.
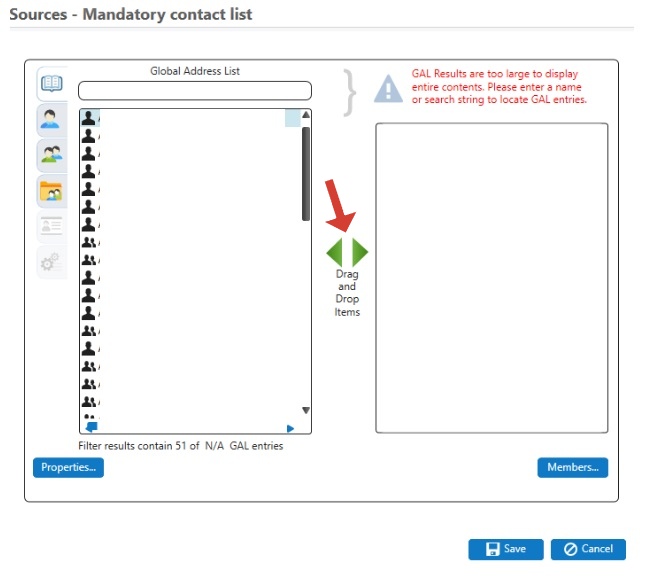
11. Click the Manage button in the Recipients field to open the Target – Mandatory Contact List window.
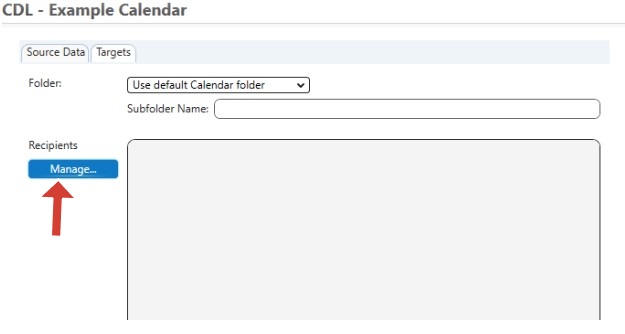
12. Click the folder icon in the left panel to display all the Contact Collections created in your Itrezzo tenant.
![]()
13. Select the desired User Collection that will receive the Calendar Distribution List and click Save. This will return you to the CDL window.
14. Click Save again to finalize and create the Calendar Distribution List.
Your Calendar Distribution List is now successfully configured and ready for use.