This guide shows how to setup your itrezzo tenant after installation.
Before You Start
This guide assumes you have read and performed the procedure outlined in the following articles:
Instructions
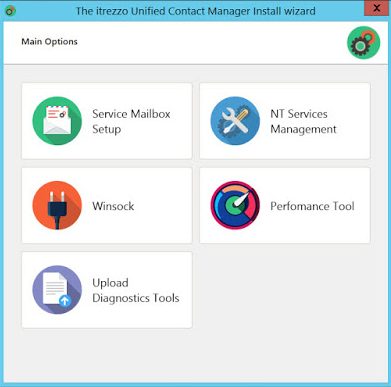
- Click Service Mailbox Setup tile in the itrezzo UCM install wizard. (See figure below.)
- Select your tenant’s Exchange environment. In this example, select Exchange. The Select Microsoft Exchange service account section of the wizard will appear. (See figure below.)
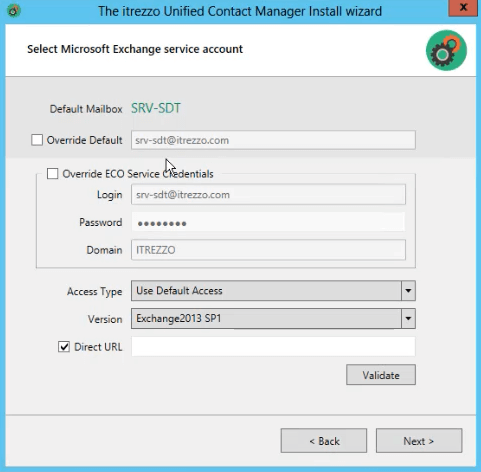
- Enter the direct URL to your tenant’s Exchange database in the Direct URL field in the following format: https://<mail.server>/ews/exchange.asmx. NOTE: mail.server is a placeholder for the name of your Exchange server.
- Click Validate. A pop-up will appear.
- Click OK to close the pop-up.
- Click Next. The Contact info window will open. (See figure below.)
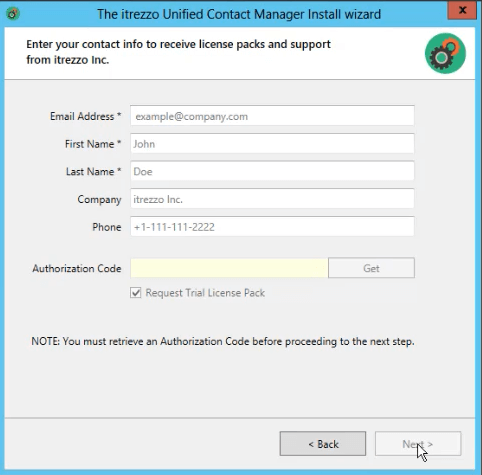
- Enter the desired email address to serve as the BOP/itrezzo admin in the Email Address field. Information from the GAL will fill out the rest of the form.
- Click Get in the Authorization Code field.
- Click the Request Trial License Pack checkbox.
- Click Next. itrezzo will send two emails, one is a generic message confirming the itrezzo UCM registration, and the other will contain the authorization code used for itrezzo and the trial license pack. NOTE: itrezzo offers users 6-month trial license pack of 10 licenses. To activate the trial license pack, please follow the instructions outlined in the automated email or in How to Install itrezzo UCM License Packs.
- Check the Start all services and Launch Web Administrator checkboxes.
- Click Finish.
