Overview: Certificate-Based Authorization
There are multiple ways to programmatically authenticate with Microsoft Azure. The most common method uses an “Access token” as part of modern authentication techniques. The access token allows the itrezzo Unified Contact Manager (UCM) to access Azure resources. However, the lifetime of an “Access Token is 90 days (about 3 months) and must be refreshed regularly. After expiry, the token must be updated by an interactive login to the Azure portal. Certificate-Based Authorization is another method of accessing Azure resources using identities based on certificates. In many cases, this may be preferred over modern authentication. The main justification is that when programmatically calling PowerShell, basic authentication is deprecated. Thus, the only viable option is Certificate-Based Authentication. Even when using the Microsoft Graph API, there is an additional advantage in that the “Refresh Token” does not require human intervention each time a refresh token expires.
How Does Certificate-Based Authentication Work?
The certificate is usually uploaded to the Azure portal and every time we access the Azure resource, we use the certificate to generate an access token. So, the certificate replaces the “Refresh Token” in the OAuth flow. The following steps describe what should be done to configure certificate-based authorization:
- Create your certificate and prepare two files: one file certificate without a private key and the second with a private key
- Create an Application on the Azure Portal in your tenant
- Configure your created application as follows:
- Assign API permissions that allow application access to the target resources
- Assign a certificate without a private key to the created application
- Create a Service Principal Entry in the Azure Active Directory and assign this entry to the application. This entry will be used as an access user when connecting to Azure resources via certificate-based authorization
- Assign necessary permissions to the created Service Principal Entry
- Accept admin permissions for the created application
Once these steps have been completed, we can use certificate-based authentication with a private key to obtain an „Access Token“ in the OAuth flow.
Configuration with itrezzo
This section outlines how to configure certificate-based authorization with the itrezzo application. Note that all methods will require Global Administrator access in the Azure Tenant and credentials will be used only for the configuration process per time. itrezzo will not save this information anywhere.
The naming convention for entries that will be created by Itrezzo on the Azure side:
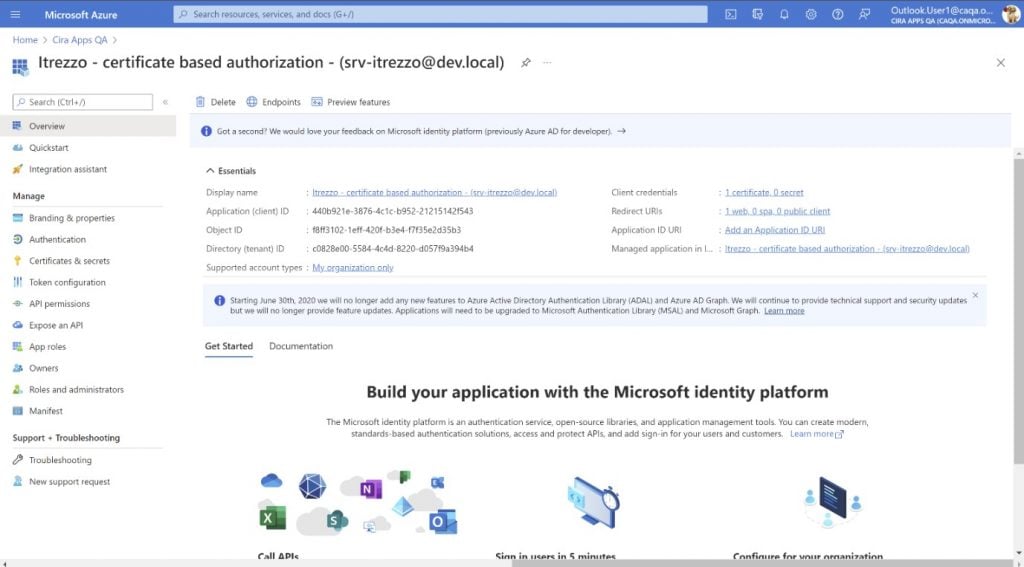
Itrezzo – certificate-based authorization – ([Itrezzo service mailbox])
Itrezzo has two methods for configuring certificate-based authorization:
- The automatic method – this method allows users to configure all necessary steps with minimum user involvement. However, this method requires more permissions that must be accepted from the itrezzo Application.
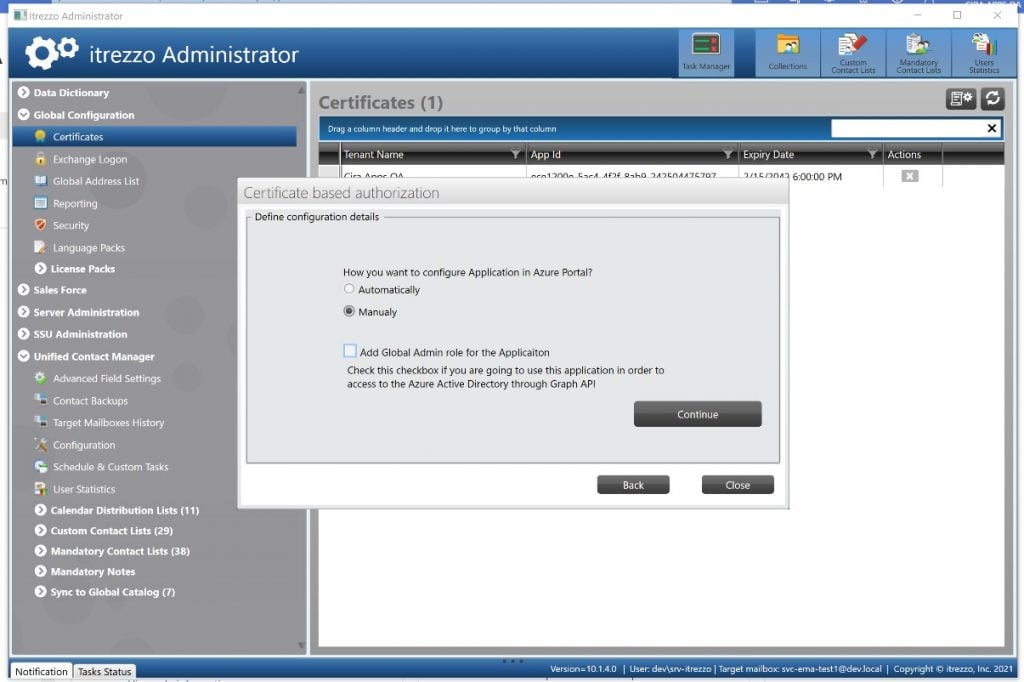
- The manual method – this method controls all steps that will be made in the Azure portal and requires fewer scope permissions but more permissions from the end-user via the azure portal and PowerShell scripting.
Certificate-Based Authorization with itrezzo UCM: The automatic method
This method requires the following permissions:
- „Application.ReadWrite.All“ – required to create applications within the Azure tenant
- „Directory.ReadWrite.All“ – required to create Service Principal Entry
- „Organization.ReadWrite.All“ – required to access an organization’s info
- „RoleManagement.ReadWrite.Directory“ – required to create roles for Service Principal
All these permissions require the „Write“ option which allows itrezzo to create new entries within the Azure Tenant.
User flow
1. Create a certificate manually or automatically with itrezzo

2. Select the automatic configuration method.

3. Enter your Global Administrator credentials in the Microsoft Login form

4. Accept the necessary permissions described below.

5. Run the configuration process and wait until it is completed.

6. Accept admin permissions for the created application.

Certificate-Based Authorization with itrezzo UCM: The manual method
The manual method requires the following permissions:
- „Application.Read.All“ – required to find the application
- „Organization.Read.All“ – required to read the Organization’s info
All these permissions require only a „Read“ option since itrezzo should read information about the manually configured application and save this into the itrezzo database
User Flow
1. Create a certificate manually or automatically with itrezzo.

2. Select a manual configuration method.

3. Execute the PowerShell script that will be provided by the itrezzo application. You can find an example of this script in Appendix 1 at the end of this document.

4.

5. Enter your Global Administrator credentials in the Microsoft Login form.

6. Accept the necessary permissions described below.
IMPORTANT: Do NOT check the box “Consent on behalf of your organization.”

IMPORTANT: Do NOT check the box “Consent on behalf of your organization.”

7. Run the itrezzo configuration process – during this step, itrezzo will connect to the Azure portal, find the created application, and save the changes in the database.

8. Accept admin permissions for the created application.
Certificate-Based Authorization with itrezzo UCM: Azure Portal Configuration
- Create an application in your tenant with the name Itrezzo – certificate-based authorization – ([Itrezzo service mailbox]).


2. Assign the certificate to that application.

3. Configure API permissions for the application.

4. Create the Service Principal entity and assign it to the application.


Appendix 1
Below is an example of a PowerShell script to configure certificate-based authorization.
This is only an example of a script. A customized script will be provided by itrezzo during the configuration process specifically for your environment.


